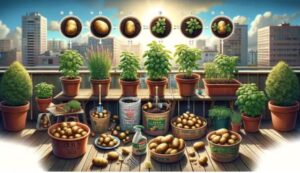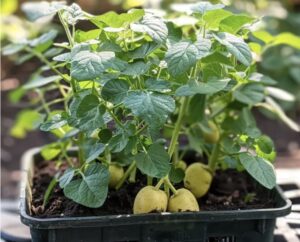
Growing potatoes in containers is an excellent way for gardeners with limited space to enjoy fresh spuds. Potatoes are remarkably adaptable and can thrive in a wide range of environments, as long as they have enough room to grow. This guide will take you through the process step-by-step, from selecting the right container and potato variety to harvesting your crop. Let’s delve into the best practices for growing potatoes in containers, ensuring a bountiful harvest.

they are breathable, encouraging air pruning and preventing overheating. Their handles make them easy to move.Plastic or Wooden Containers: Ensure they have adequate drainage holes at the bottom to prevent waterlogging.2. Selecting Potato Varieties
Not all potatoes are created equal when it comes to container gardening. Look for early maturing varieties such as ‘Yukon Gold’, ‘Red Pontiac’, or ‘Purple Majesty’. Seed potatoes are preferable to supermarket potatoes, which may have been treated to prevent sprouting.
3. Preparing Seed Potatoes
Cut larger seed potatoes into chunks, ensuring each piece has at least one or two eyes (sprouts). Let the cut pieces sit at room temperature for a couple of days to allow the cuts to heal over and form a protective layer, reducing the risk of rot.
4. Soil and Planting
Use a high-quality potting mix designed for vegetables. Avoid garden soil as it can be too dense and may contain pests. Fill your container with about 6 inches of soil, then place your seed potatoes about 12 inches apart on top. Cover them with another 3 inches of soil.
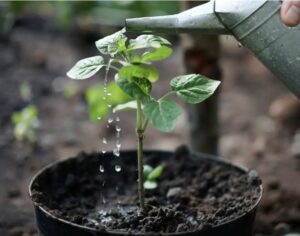
5. Watering and Feeding

the container, covering the stems but leaving the top few inches of plant exposed. This process, known as “earthing up,” encourages more tubers to form along the buried stem and prevents the potatoes from being exposed to sunlight, which can turn them green and toxic.
7. Pest and Disease Management
Keep an eye out for common pests like aphids and potato beetles. Practice crop rotation even in container gardening by not planting potatoes in the same soil for at least three years. Remove diseased plants promptly to prevent the spread of infections.
8. Harvesting
Early varieties can be ready to harvest as soon as the flowers bloom, about 10 weeks after planting. For larger potatoes, wait until the foliage starts to yellow and die back. Gently dig through the soil to harvest your potatoes, being careful not to damage them.
9. Storing
Cure your harvested potatoes in a dry, dark place for a few days to toughen up the skin. After curing, store them in a cool, dark, and well-ventilated area. Properly stored, your potatoes can last for several months.
Recipe: Container-Grown Potato Salad
Now that you’ve successfully grown your potatoes, here’s a simple recipe to enjoy the fruits of your labor:

salted water until tender, then drain.Prepare the Dressing: In a large bowl, mix mayonnaise or Greek yogurt with Dijon mustard, chopped herbs, salt, and pepper to taste.Combine: Add the warm potatoes to the dressing and gently mix to coat. If using, add celery, eggs, and onion.Chill and Serve: Let the potato salad chill in the refrigerator for at least an hour before serving to allow the flavors to meld.
Growing potatoes in containers is a rewarding experience that leads to delicious, fresh produce perfect for a variety of dishes. With these tips and a little care, you can enjoy a bountiful harvest right from your balcony or patio.


